CAD RENDERING
FOR MANUALS, TECHNICAL AND NON TECHNICAL SUPPORT, OFFICE DESIGN
SIMPLIFY VISUALIZATION
*


REALISTIC VISUALIZATION
MUTLI USE
Rendering is the final process of creating the actual 2D image or animation from the prepared scene. This can be compared to taking a photo or filming the scene after the setup is finished in real life. Several different, and often specialized, rendering methods have been developed. These range from the distinctly non-realistic wireframe rendering through polygon-based rendering, to more advanced techniques . Rendering may take from fractions of a second to days for a single image/frame. ..


3D wireframe. - No shading or Rendering

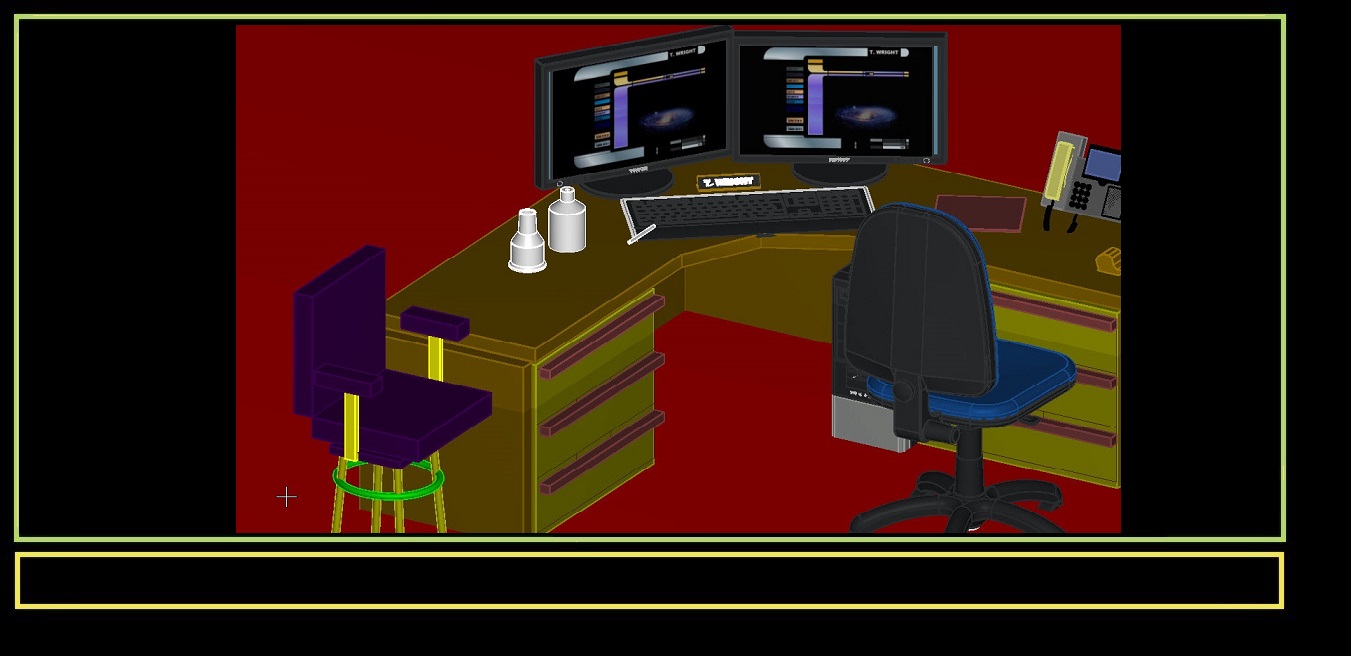
This is a shaded image. Solid Modeling. Colors have been added.

This is a Low Quality Rendering. Lighting and materials appear closer to "real world".

These are still actual 3D models. It gives the added value of being able to view a scene from different angles.

Here is the same "desk set"- viewed from another perspective.

You can see that shadows from the objects are relative to the view and lighting and change based on the placement of lights in the drawing. Thus a rendering is able to simulate "real lighting" conditions.

Here is a Conference room. You can see the rendering quality can become photo realistic, if you have a computer with the right specifications.

Here is a "Lobby reception area".
I tend in most cases to work in "medium quality rendering" for my job. I am limited by computer "RAM", as well as, High quality renderings may take excessive additional time, depending on how complex the drawing features are..

This rendering was a way of determining the placement of furniture relevent to ambient lighting to determine the final room appearance and assess the need for additional interior lighting.

Here is an additional view of the office setting from a different view. When the model is in "3D", there is no excessive time wasted in being able to set up and view a scenario, from almost any angle.

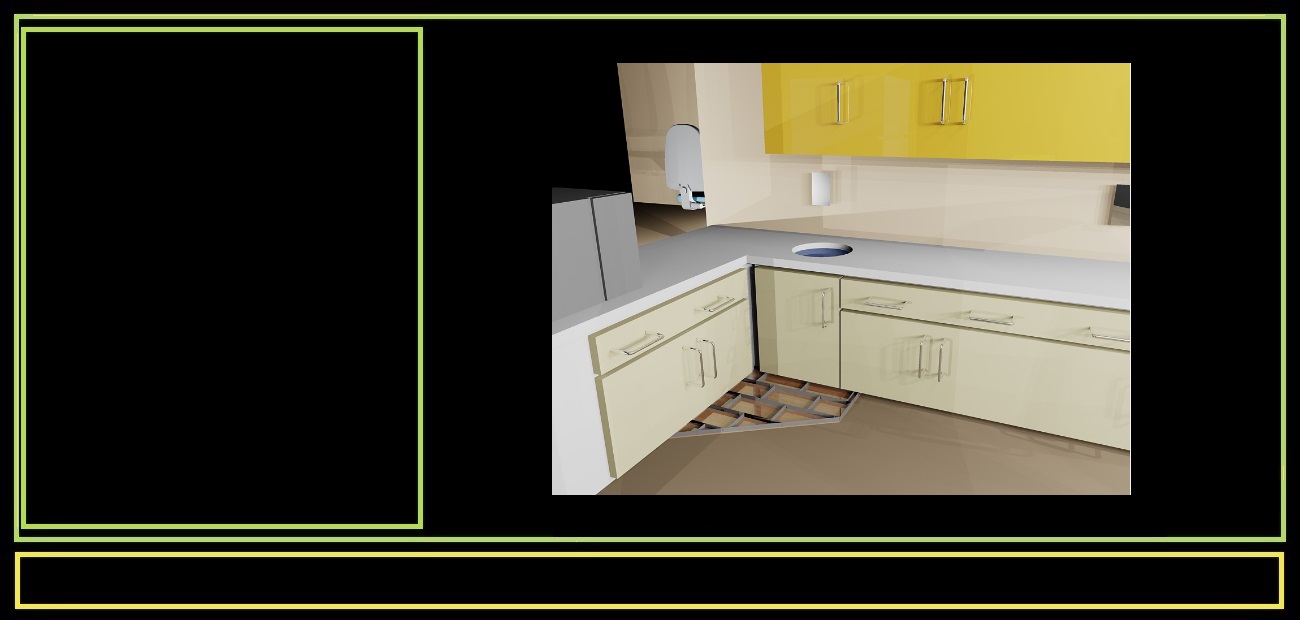
This is our departments "food preparation" area. The rendering was designed to determine the best materials to choose for design before actually installing the new counters. This was to assure the final appearance before making purchases of materials.

This is a rendering of our newly designed "facilty mens locker room".

Arrangement and spacing of lockers were done in a 2D drawing to maximize efficiency. Here is a view of the locker room from another angle for analysis of colors chosen and lighting. (medium quality rendering.)

This is the new design of our "Internet Cafe'" for general employee computer access.

Since computer glare is an issue, it was inmportant to analyze the lighting from windows as well, to assure the best viewing experience and minimize glare from outdoor sunlight at various times of day.

This is an external view of the Office building rendered for a presentation so that the presenter could point our various roof features and the points be easily recognizable. (photos sometimes have too much detail which distract or make identification difficult.)(Aerial shots from perspectives are often costly or diffcult to achieve so sometimes a model works better.

Here is a second view of the facilty exterior from a wider angle. The lighting can be adjusted to various times of day in Autocad. Thus one is able to anlayze how sunlight falls on the building at different times of day and see the effect on office interior lighting. This makes it easier to make discussion on "sunlight harvesting" and "efficency of lighting" of the office buildings to analyze possible "energy and cost savings".

This rendering was for aestetics in the selection of "new desk work surfaces". We wanted to see the office appearance for the implementation of new "open office areas".

This is a view of my "personal desktop and computer screens". The images shown on the computer screens here, actually match my real desktop image.

Here I mearly wanted to show I could render "glass containers" on my desk as well. By adding materials I am able to mimic , glass, plastic, even the carpeting on the floor. If I have a sample of any material as a photo, I can turn them into a Autocad pattern and apply them to any object to mimic the materials that are being considered for purchase or design before making final decisions.

This is a view of the office area I work in, without any furnishing or equipment.

Here is a view of that same office area once we installed the new work surfaces and ceiling lighting.

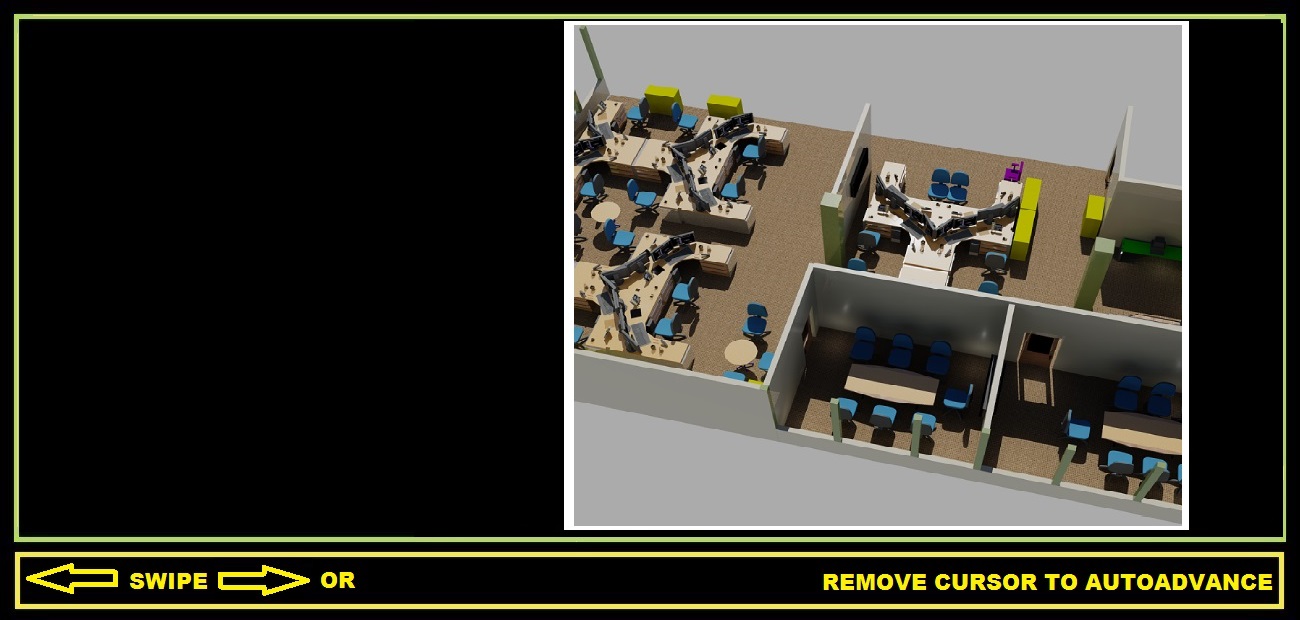
This is a view of the entire open office setting with all furnishings added.

A view of the new "Open office layout" from another vantage point.

Here is the conference room "without lighting", for a study of how external light would affect viewing of projection screens located on the conference room wall from a projector mounted in the ceiling .

This was to study how much lighting would be available with ceiling lighting turned off, when video was being shown. Could engineers still have enough lighting to write and make notes?

Here is the seating arrangement at my desk.

A view from the exterior window at night.

Finally a render of our work area from a wider view. This concludes most of the need for renderings in my present job. High quality resolution was not needed. My computer lacks the "RAM" to do much better. This demo should be appearent I am capable of making renderings in Autocad. (The most familiar and common software). I am working on rendering in Microstation which has a better rendering engine, and soon SOLIDWORKS.
.